GL iNet Setup
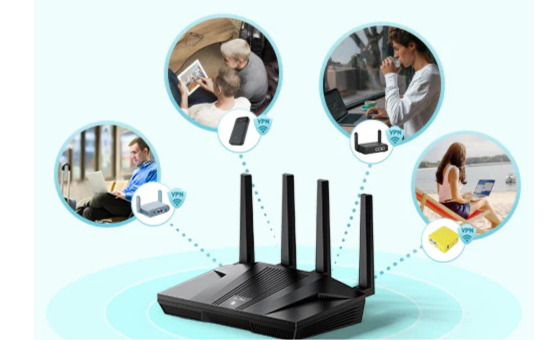
GL iNet network devices are compact. These devices are designed to offer stable internet connection with flexibility. You can get a stable network using the GL iNet repeater whether you use them at home, in the office, or while travelling. Along with the high internet speed these repeaters provide enhanced security features such as VPN and firewall settings. With the right configuration you can get the best out of these repeaters. To complete the GL iNet Setup, there are two ways to proceed. The first method is using the glinet app and the other method is using the web. Both the ways of configuration involve a few steps that are not as complex as most of the people thought. Roll down to know more about the process.
Pre Setup Instructions
You can initiate the GL iNet Setup after following these instructions using any of the below given methods that suits you. You have to install the hardware properly and these instructions will help in doing installation easily.
Unbox Carefully
Take out the GL iNet repeater and all its accessories from the package. Keep the USB cable, power adapter, and user guide within reach to proceed with the setup.
Power On the Repeater
Plug the repeater into a stable power source using the provided USB cable and adapter. If you have a model that works on charging then make sure the device changing is full prior setup. The power button on the repeater should be turned on to start the repeater. Wait until the LED indicator stabilises, confirming the device is ready.
Plug the repeater into a stable power source using the provided USB cable and adapter. If you have a model that works on charging then make sure the device changing is full prior setup. The power button on the repeater should be turned on to start the repeater. Wait until the LED indicator stabilises, confirming the device is ready.
Initial Connection
- If using a smartphone then you have to link it with the repeater’s default WiFi network. For connection you need to go to the settings then wireless and hunt for the standard SSID of the repeater. In place of password type “Goodlife” and you will get connected to the standard network.
- If using a computer, you may also connect through an Ethernet cable for a secure wired link.
Once the installation is done, you can move forward with the GL iNet setup process through either the app or the web interface.
GL iNet Setup Via App
The GL iNet app makes setup simple and beginner-friendly. For both Android and iOS devices, the app is available on their respective stores to download. Users need to install the app in their device and then follow these setup steps:
- Once the application is installed in your android or iOS device, ensure the device is connected to the repeater’s default network.
- Then launch the GL iNet app, let it detect the repeater device and then enter the app after selecting language.
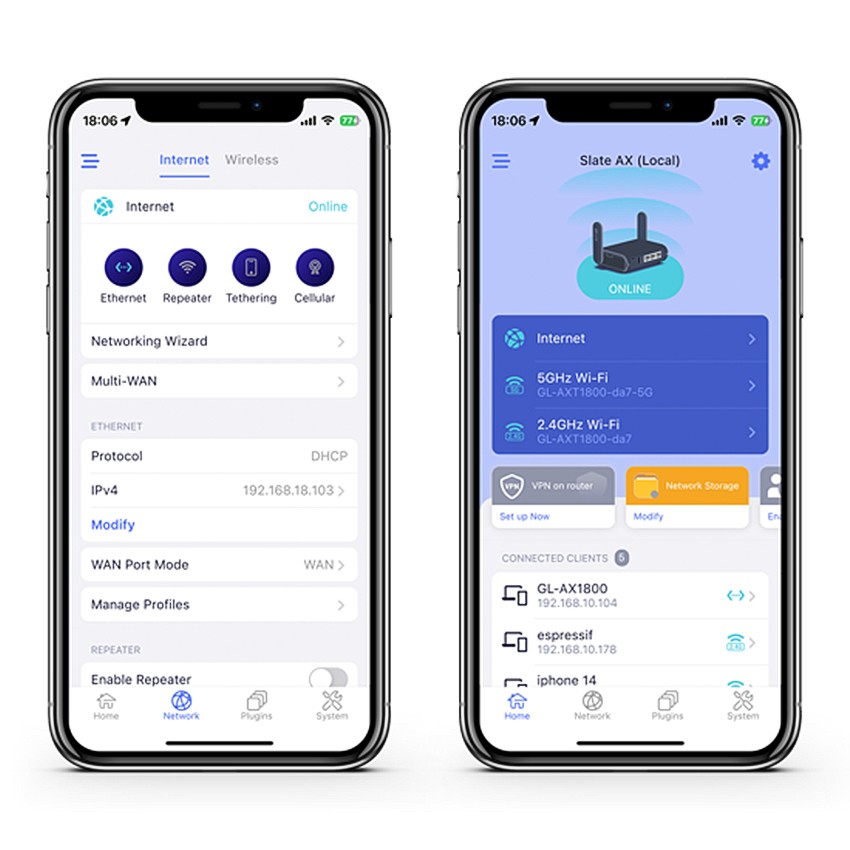
- Create a pass key for the admin account and the dashboard appears.
- Now look for the internet option and connect your device with internet through any of the given mode:
- Ethernet
- Repeater
- Tethering
- Cellular
- Proceed with the steps ahead as per your selection and guided by the app.
- Thereafter create a new SSID & its security key to keep your repeater’s network safe.
- Submit the variations you just did to the device settings and reboot the repeater.
Don’t forget to verify your GL iNet setup you just done using a smartphone or laptop by reconnecting to the network.
GL iNet Setup Via App
If you prefer to proceed via web based setup then here are the steps you should proceed with:
- Ensure the laptop/ desktop is connected to the repeater’s default network.
- Afterwards launch google chrome, internet explorer or other web browser you have in the device.
- The latest version of the browser should be used to proceed only to avoid error. In the address bar of the browser, specify 192.168.8.1 IP.
- On your keyboard, click on the enter button and then the admin interface will appear.
- Enter the interface with the selection of language to proceed further.
- After that, create a passkey for the admin account and the dashboard appears.
- The internet option will show on the screen, choose it to connect your device with internet through any of the given mode:
- Ethernet
- Repeater
- Tethering
- Cellular
- Proceed with the steps ahead as per your selection and guided by the app.
- Thereafter create a new SSID & its security key to keep your repeater’s network safe.
- Lastly, the variations you just did to the device settings- save them and reboot the repeater.
- Verify your GL iNet setup using a smartphone or laptop by reconnecting to the network.
Connect Us
Specified steps on GL iNet devices setup are very helpful if you follow them as mentioned. In case you are not able to proceed with the setup process at any step you face trouble then connect us. We have an expert team with in-depth knowledge about the GL iNet devices, they will guide you. You can call us for immediate assistance, we assist you regardless of time.