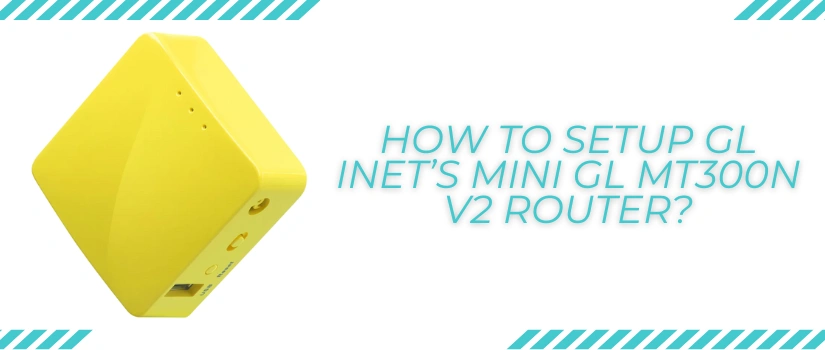
How To Setup GL iNet’s Mini GL MT300N V2 Router?
GL iNet GL MT300N V2 router popularly known as Mango is a mini, compact and travel appropriate router that supports the wifi speeds of up to 300Mbps. It features not one but two Ethernet ports. Further it supports Open VPN alongside WireGuard and DNS server. The advanced features make it worthy of every single penny spent. So if you bought one for your next travel destination or simply for the connectivity on go, then this blog post is all that you need. Here you’ll get the complete details regarding the GL iNet GL MT300N V2 setup. So with no further deferment, let’s first list down the setup requirements.
Pre-Setup Checklist
The setup process is simple, straightforward and doesn’t take up much of your crucial time. It becomes even easier when you already have the main setup components ready by your side. So here’s everything that you require for the GL iNet GL MT300N V2 setup:
- Firstly the Mango router and its power cable.
- The router doesn’t come with the adapter, so make sure you buy the standard 5V/2A power adapter beforehand.
- Up next, you need a well working Ethernet wire. This one is optional but recommended by experts for a smooth and hassle free conduct.
- Thereafter you must have an internet source like a modem.
- Then you need a smart device with a web browser on it.
- Lastly, the access to the power outlet is non-negotiable.
Setup Instructions
Now let’s quickly jump on to the main GL iNet GL MT300N V2 setup steps:
- First deploy the router in an open space that is well ventilated and doesn’t have unnecessary interferences.
- Now plug the power cable into the power port and then to the power adapter. Thereafter move the adaptor into the switch board and turn on the power.
- Wait for the router to show a green signal. Its status light will turn steady once it’s ready for the further GL iNet GL MT300N V2 setup.
- Moving further, take the smart device. Go to the settings option. Activate wifi. Now pair up with the Mango’s local network using the default password. The same details are accurately given on the product label.
- You can also establish a wired connection instead of the wireless one. For this use the ethernet wire. Simply plug wire into the Mango’s LAN port and then into the smart device’s Ethernet port.
- After a successful connection, open Google Chrome or any other up-to-date and compatible browser. Go to the URL blank. Into it type http://192.168.8.1 and hit enter.
- Now choose the language, hit Next. Assign a strong and difficult to break admin password, click Submit.
- Finally from the main setup panel, select the Internet option and follow the on-screen directions one by one to complete the GL iNet GL MT300N V2 setup process successfully.
Still have any queries or doubts regarding the Mango’s setup? If yes, then our customer support services are always open for your help.