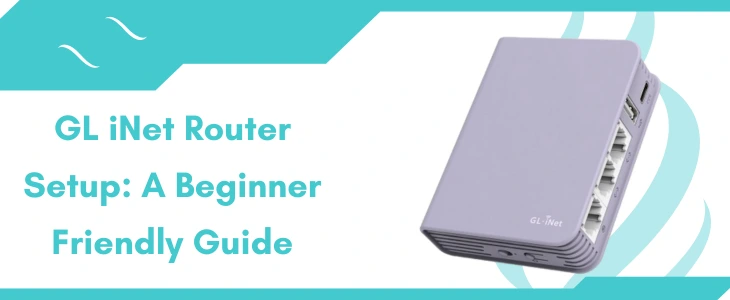
GL iNet Router Setup A Beginner Friendly Guide
Looking to upgrade your home network with a reliable and fast router? Want a user-friendly device that offers exceptional performance without complex installation steps? GL iNet routers are designed just for you. Whether you choose a travel router, mini router, or cellular router, all models from GL iNet come packed with advanced security, intuitive interfaces, and consistent speed. The best part is, setting up your GL iNet router doesn’t require technical know how. With just a few easy steps, you can complete the GL iNet router setup like a pro.
Things You Need Before Setup
Prior to jump into the GL iNet Router setup process gather the essentials needed to configure your router
- A GL iNet router (any variant)
- A working power adaptor
- An Ethernet cable to connect devices
- A computer or laptop for configuration
- A modem to provide an internet connection
Step by Step Router Setup
If you are a beginner with no technical experience, this guide is here to help. Just follow the steps below to set up your GL iNet router without hassle.
Power On the Router
To begin, plug your router into a working power outlet using the provided adaptor. Insert the adaptor into the router’s power port, then connect it to the wall socket. Switch on the power supply and give the router a few moments to boot up. Once the device powers on, you are ready for the next step.
Connect to the Router’s Network
Now that the router is powered, connect your client device (a laptop or computer) to the router. This can be done in two ways:
Wired Connection
Using an Ethernet cable, connect one end to your client device and the other to the router. Be sure your device has an Ethernet port to connect. Once connected, verify that the connection is active.
Wireless Connection
Turn on the Wi-Fi on your device. Rush to the wireless settings. Thereafter let the device scan for networks. Choose your router’s SSID and enter the default password, which is usually “goodlife”. Hit on the “Connect” option. Move to the next step once connected.
Open the Web Interface
Launch a browser on your connected device of your choice. Enter the router’s default IP address into the search bar. When the web interface loads, choose your preferred language. Create login credentials for admin access. You’ll reach the main setup dashboard as login to the device.
Connect to the Internet
In the admin panel, go to “Settings” and locate the Internet option. You’ll see multiple ways to connect:
- Ethernet (default wired method)
- Tethering
- Cellular
Repeater mode
Select the option that suits your setup and follow on-screen instructions to finish the configuration.
Test the Network
Finally, test your new connection. Connect a smartphone or computer to the new WiFi SSID using your newly created password. Try browsing, streaming, or gaming to confirm internet speed and reliability.
Conclusion
Above detailed steps will help you add the device into your network. You can easily add the device by following the steps. In case you need help or got stuck somewhere then you can connect us on a given number.
