GL iNet Setup Guide: Your Go To Source For Router Configuration
Have you recently purchased a GL iNet travel router? Are you in search for a reliable step by step resource that can help you in setting up the device? If the answer to both the questions is yes then you need GL iNet Setup Guide. Further on this page you will read how you can do the GL iNet router setup along with the other essential details. Setting up a GL iNet router will give you a stable, reliable and strong internet connection. Check out this guide to know more about the configuration.
GL iNet Setup Requirements
Before you begin the setup, make sure you have the following essential to avoid interruptions:
- A GL iNet router model similar as GL- MT1300, GL- AXT1800, GL- SFT1200, or GL- AR750
- Power appendage or USB/ Type- C charging string
- Ethernet string for wired configuration
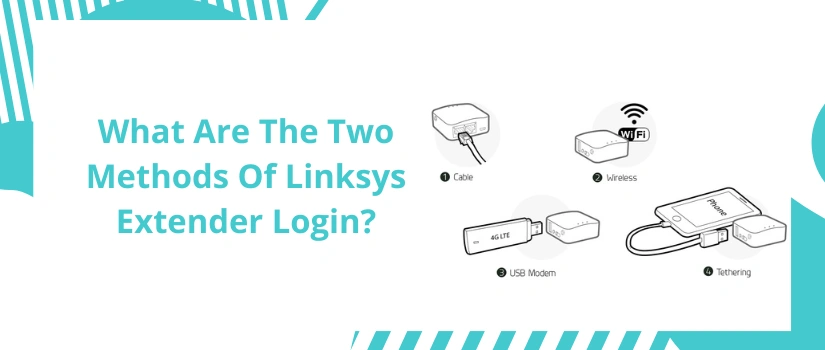
- A smartphone, laptop, or tablet for setup
- Internet source( modem, hotspot, or phone tethering)
- Default WiFi credentials published on the device marker
- Stable power outlet or movable power bank
Having these ready ensures a smooth configuration process using this GL iNet Setup Guide.
GL iNet Setup Process
Check out the setup process to complete the configuration step by step:
Download The GL iNet App
GL iNet App allows you to complete the configuration of the router using your smartphone. The app can be downloaded on both operating systems whether you are using an android device or iOS device.
Place The Router
Position the router in a central and elevated position. Avoid placing it behind thick walls, essence shells, or inside closets. Proper placement improves WiFi signal strength, device content, and overall performance.
Power Up The Router
Connect the router to a power outlet or charge it as per the model you have. Some models power on automatically when connected to power. Some have a physical power button. Stay for the LED pointers to stabilize before moving ahead. This GL iNet Setup Guide recommends staying at least 30 – 60 seconds for full incipiency.
Connect To Router Network
Look for the standard WiFi network name (SSID) published on the marker beneath the router. Connect using your smartphone, tablet, or computer. However, plug an Ethernet string into the LAN harborage and connect it to your laptop or PC, If you prefer a wired connection.
Access Admin Dashboard
Launch the GL iNet app to pursue with the setup or you can access it using the web. Open a web cybersurfer and enter 192.168.8.1 or router.gl-inet.com. On your first login, you’ll be urged to produce an admin word. This login gives you access to crucial settings described in this GL iNet Setup Guide.
Configure The Device
From the dashboard, elect your internet connection type
- Ethernet/ WAN Mode – Connect to a modem or being router
- Repeater Mode – Join and extend a near WiFi network
- USB Tethering – Use a phone or modem via USB harborage
Apply the settings and stay for the connection to establish.
Create Router’s Wireless Network Name
To make your network recognisable, go to the WiFi settings section and change the standard SSID. However, set separate names for the 2, If your router supports binary- band.4 GHz and 5 GHz networks.
Create Router’s Wireless Network Password
Set a strong WPA2/ WPA3 word to secure your connection. Avoid using the standard credentials, as mentioned throughout this GL iNet Setup Guide. Use a blend of letters, symbols, and figures.
Update Router’s Firmware
Navigate to the firmware upgrade section. You can modernize online or upload a train manually. Streamlining improves security, performance, and comity. Allow the router to reboot once the process completes.
Connect Us
Need help setting up your GL iNet router or facing login, firmware, or connectivity issues? Our support team will help you quickly with configuration, troubleshooting, or advanced setup. You just need to connect us for your hassle-free router experience. Call us anytime!