How To Do GL iNet Setup Via Glinet App?
In today’s digital era, who doesn’t want a reliable network? We all perform most of our tasks using the internet whether it’s personal or professional. We need the internet even during travel. Many of us phase issues while travelling with the internet signals. To get a strong network coverage you can use a router device while travelling. GL iNet is one of the popular brands offering travel router devices. You can use the GL iNet router very easily. Its configuration is very simple and can be done by anyone using even their smartphone devices. GL iNet setup process is mentioned further step by step that you can follow to configure your device.
Download The App
Before starting the GL iNet setup process, you must first download the GL iNet app on your mobile device. Ensure your smartphone is connected to a stable internet connection. Open the Google Play Store (for Android device users) or the App Store (for iOS device users). In the hunt bar, type GL iNet and detect the sanctioned app. Tap the Install button and stay until the installation is complete. Once the app has been successfully installed, you can begin the setup process.
Power On The Router
To start setting up your GL iNet device, you need to turn on the device. Use the power appendage that came with your router to plug it into a power source. However, charge it completely before use, If your model includes a erected- in battery. Press the Power button to switch on the router. Wait until the index lights turn solid or flash according to the device instructions.
Connect Your Smartphone With Router Network
Next, connect your smartphone to the router’s standard WiFi network. For the connection rush to the network settings in your smartphone. Search for the available networks and select the name of GL iNet device network name out of the list. When urged, enter the standard password goodlife, which is the pre-configured password for original network access. Now you may proceed further to complete the GL iNet setup.
Launch App And Create Account
Open the GL iNet app that you just installed. You’ll see two options: login or produce an account. If you’re using a GL iNet router for the first time, select produce an account. Enter the needed details similar as dispatch and word, also follow the on- screen instructions to complete the enrollment . After creating your account, log in to do with the configuration.
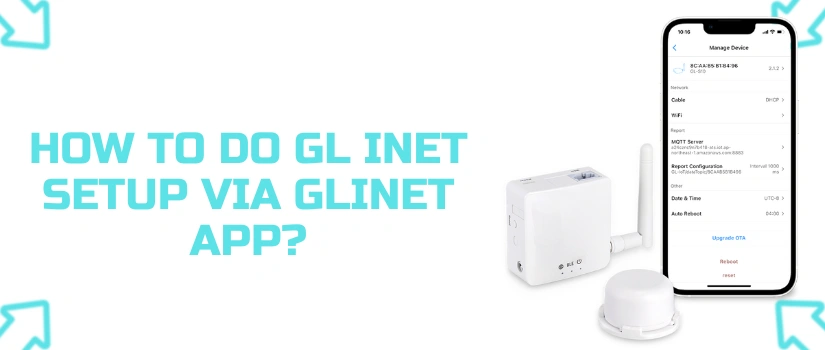
Configure Device Settings
After logging into the app, stay for it to search for and detect your near GL iNet device. Once detected, choose your router from the list and confirm the model number. Select next to enter the network setup options. The app will show different styles to connect your router to the internet — Tethering, Ethernet Cable, Repeater Mode, or 3G/ 4G Modem. Choose the connection type that suits your setup and follow the app’s instructions to complete the GL iNet setup.
Finalize Setup
Once you’ve made all necessary configuration changes, it’s time to finalize the setup. Review your selections and click Finish or Apply. The router will renew to save the settings. After it powers back over, test the connection using your smartphone by reconnecting to the router’s Wi- Fi and browsing the internet to ensure everything is working properly.
Connect Us
GL iNet setup using the GL iNet app is simple and stoner-friendly. Still, if you face any issues or have questions at any point during the setup, our expert support platoon is ready to help you. Feel free to reach out to us anytime, we are always just a call down. Don’t hesitate, communicate with us!