GL B3000 Setup: Blend Of Power And Style
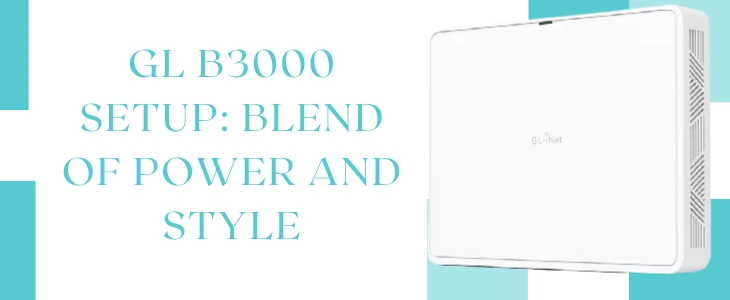
GL B3000 Setup is a beautiful blend of both power and style. The GL B3000 router is unique in its own way. As it cleverly seems to be a photo frame but in reality it is working out to provide you seamless wifi connectivity. It is popularly known as Marble. To get answers to all your questions, read out the complete guide.
Key Features Of Marble Under Spotlight
The GL B3000 setup operates on wifi 6. Therefore it offers reliable and super fast connectivity for all your smart gadgets. Further, with the dual frequency bands, say goodbye to network congestion. Overall the 2.4 Ghz frequency band emits the speeds of upto 574 Mbps. Whereas on the 5Ghz band users can easily fetch the maximum speeds of upto 2402 Mbps.
Marble is highly dependable because of its failover capabilities. This means if the ethernet connection fails, the GL B3000 setup smartly switches to the repeater mode. Not only this but Marble can also switch between LAN and WAN ports.
Moving further, the Marble provides complete flexibility to its users when it comes to its deployment. Users can place the router as a photo frame on the table top, can mount it on the wall as a picture, or place it vertically on its stand.
With GL B3000 setup, the security concerns are also given rest. Marble supports OpenVPN and WireGuard for protecting the network from any kind of threats.
Marble Offers Built-in Parental Control Feature
There is no doubt that every parent has a concern towards what their children view and access on the internet. To control and manage all the activities of your children’s devices, the Marble offers a built-in parental control feature. The feature works in collaboration with the award winning child monitoring tool “Bark”. Parents can freely block access to unsuitable content. Further set up time limits for accessing the internet and much more.
Checkout The Package Contents!
As you open the GL B3000 setup box, you receive following components:
- The most important component, which is the Marble Router.
- Next, a power adapter with a converter.
- An Ethernet cable
- A customisable photo frame.
- Next, wall mounting kit
- A router stand, for placing the router.
- Lastly, a user manual accompanying a thankyou card and a warranty card.
For a successful setup, all these components are extremely necessary. In addition to this users need a smart gadget for completing the GL B3000 setup.
Let’s Setup The Marble !
Start the setup by placing the GL B3000 strategically in a central location, so it can emit signals uniformly in each corner. Further, be mindful that in the close premises of the router, there shouldn’t be any electronic or metal objects. Some common examples are: refrigerator, microwave, bluetooth devices, security cameras, cordless phones and baby monitors. Also avoid placing the GL B3000 setup in between thick walls be it of concrete or mirror.
Steps To Follow:
✓ After the strategic placement, fetch the power adapter. Move its power pin into the power port of the Marble. Thereafter, secure the adaptor with a power outlet. Power it on.
✓ Moving further, fetch the smart gadget like your phone or PC. Connect it to the Marble either with the ethernet cable or wirelessly. For connecting wirelessly, visit the wifi section of your gadget. Then turn on the wifi. A list appears. From it select the network name GL-B3000-XXX. Then tap on Connect.
✓ For successful GL B3000 setup, now you need access to the admin panel. For this, open any internet browser. Visit the URL bar. In it fill up http://192.168.8.1. After that, Hit enter.
✓ Now, select the language. Tap on Continue. Moving forward, create the admin password and Submit it to get access to the main dashboard.
✓ Finally, from the side bar pick the Internet option. Select any one option for connecting to the internet like ethernet cable, tethering or cellular. Therefore follow the prompts carefully step-by-step and complete the GL B3000 setup easily.
In case of any confusion, query or assistance connect to the support team