How To Do GL iNet Router Setup Via Glinet App?
Are you a travel freak who is looking for a device that can offer high speed internet with better stability even during travel? If the answer to this question is yes then you reach the right page. GL iNet Router devices are a perfect option. You can use these mine travel friendly devices very easily. Connecting these devices with the Internet is super easy. You just need to know the right process to proceed with the configuration. Even a new person to networking can do the GL iNet Router Setup using the smartphone. Underneath you will find step by step information on the setup process. Accumulate the information to proceed with the setup.
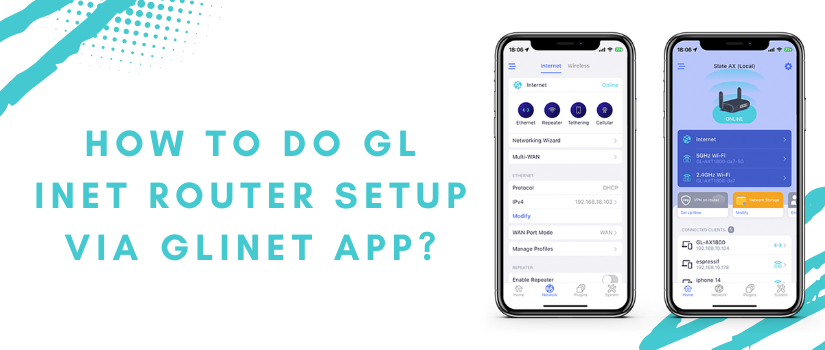
Download The App
Prior to beginning the setup you have to install the glinet app on your smartphone device. For the installation you have to connect your device with a working internet connection. Now you have to open the Google Play Store or app store as per your device operating system. After opening the store you have to search for a glinet app. Click on install option and let the app install on your device. Once the application is downloaded you can initiate the process.
Power On The Router
The first step of the GL iNet Router Setup process is powering the device. To power up the router device you have to use the power cable you received with the device. If your device is a chargeable one then you have to charge it first. After that click on the power button on the device to turn it on.
Connect Your Smartphone With Router Network
Moving ahead you have to connect your smartphone with the router’s default network to proceed further. For this connection you have to use the network name specified on the label of your router. In the password you have to type goodlife which is the standard password to connect with the network.
Launch App And Create Account
Now launch the app to proceed to the next step of GL iNet Router Setup process. In the app you will see two options out of which you have to choose to create an account if you are using GL iNet devices for the first time. Now create an account buffalo the screen and specify the information as needed. Once your account has been created you can step further to complete the configuration.
Configure Device Settings
After entering your app home you have to wait for the app to detect the available nearby device. Choose your device and select its model number. Click on the next option and go to the internet option in the settings. Hair you will see four options to connect the device with the internet. Tethering, cable, repeater or 3G/ 4G modem are the four available options to connect the device with the internet. You have to choose any one of them and let the app guide you further.
Finalize Setup
You have to finalize the GL iNet Router Setup by submitting all the changes made by you. Before submitting the changes make sure no further changes are required to be made. End of the process and let the device apply changes. Wait for the device to start up again and then you have to test the network. For network testing you can use a smartphone. Connect your smartphone with the router Network and browser internet.
Connect Us
GL iNet Router Setup choosing glinet app is not a formidable process at all. Anyone can do it who has knowledge about the right process. If you have any doubt related to the process specified above then connect our technical team for help. Our technical team is just a call away from you. You can get assistance whenever you need with your GL iNet router. Don’t think too much, just give us a call!