How To Program GL iNet Router
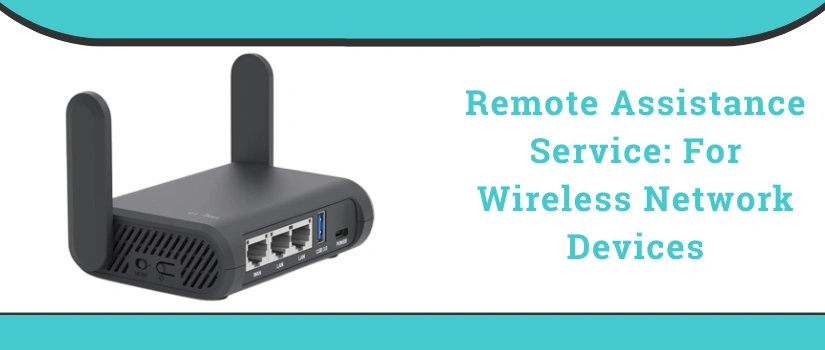
GL iNet routers are popular, especially the travel versions. They are compact, powerful, feature rich and secure to use. Many travellers and remote workers choose GL iNet routers. But they often juggle with gl inet router setup. The setup is simple and easy but you still require step by step guidance for the successful outcome. So this is the guide that can help you with the same. You can easily connect to the router within a couple of minutes. So without further stalling, let’s start with the basics which is unboxing and collection of other setup components.
Setup Checklist
Start the gl inet router setup by unwrapping the package contents. You’ll find the GL iNet router, a power cable, and a quick user manual. Apart from these three things, here’s what you need for the complete setup:
- A smart device. You can use your smartphone, laptop, computer, iPad and a table for it.
- Up next, you definitely require access to the vacant and well working electrical power point.
- An Ethernet cable (optional) for connecting to the router’s local network.
- Thereafter, if you wish to set up the GL iNet router in the repeater mode then you must learn about your current network’s SSID and password.
- Lastly, access to the web browser is a must for the gl inet router setup.
Start With The Installation
Once you pre-collect all the components for the setup, you save so much time and can now do the setup seamlessly without running here and there in the middle of installation.
-
Power Up
First deploy the router in the open space. Now activate the router. For this you must use the supplied power cable only. Because this will save you from all sorts of device malfunction. As you power up the device, wait for the smart indicator to turn all steady. Once it turns stable, head to the next gl inet router setup step.
-
Connect To The Router’s Local Network
Now grab your smart device. The aim is to now pair this device to the router’s local network. For this choose between these two options:
✓ Go to device’s settings. Enable wifi. Tap on the GL iNet router’s SSID and then fill in the password. The SSID as well as the password is written on the router’s base.
✓ This method is most preferred. For this take an Ethernet wire. Move the wire’s one end into the ethernet port of the smart device. Now move the other side into the router’s LAN port. This connects you directly to the router’s local network.
-
Login
This is a crucial step for gl inet router setup. So for this on your networked gadget launch Google chrome. You can use any other browser as well. Then in the URL column of it, type 192.168.8.1 and click enter. Now pick the language that you want the interface to show up. Thereafter hit Next. Further you now have to create the admin password. Once created hit on Submit. This will bring you to the gl inet router setup page.
-
Connect To The Internet
Now navigate to the Internet option. Inside this option you’ll get four connectivity options. For wired connectivity use ethernet, for repeating the existing signals choose repeater mode, for connecting via mobile use USB or tethering option. The interface is user intuitive, so you won’t come across any problems. With this the setup completes.
Ongoing Maintenance and Tips
Once you finish the setup, consider these crucial pointers:
✓ Always check for firmware updates in the Admin Panel. Updates bring new features and critical security fixes.
✓ Thereafter, consider changing the default Wi-Fi network name as well as the password. This adds a layer of personalization and security.
✓ GL iNet also has its own mobile app. It can simplify on-the-go management. So consider using it for quick changes, network management and control when you are traveling.
For more such insights, you can connect to our experts.