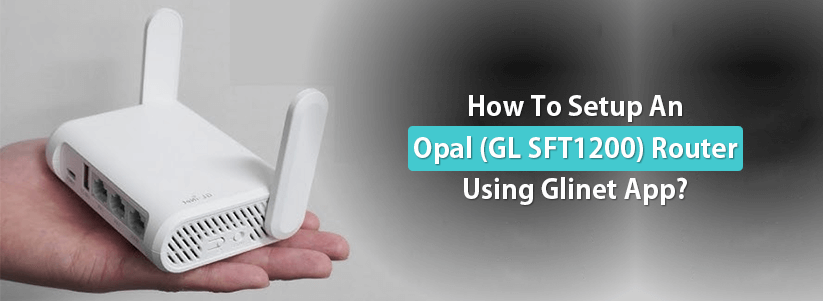
How To Setup An Opal (GL SFT1200) Router Using Glinet App?
Opal (GL SFT1200) is a travel router powered by GL iNet, a leading brand offering network hardware and software solutions. Opal is a travel router which is pocket friendly. The device is perfect for small apartments to offer fast Wi-Fi speeds. Furthermore, GL SFT1200 Setup can be done using a smartphone very easily. Gather step by step setup information to configure your opal device and get the best of it.
Boot Up Opal
Commence the GL SFT1200 Setup with booting up the opal device. Boot up may take around 5 minutes. To perform boot up of the device you need to use type C power cable. Connect the C type cable to the power port of opal and then to the power outlet.
Download Glinet App
Connect your smartphone/ tablet with the internet and download Glinet app from google play store or app store. Make sure the android OS version you are using is 5.0 or above and iOS version 12.0 or later. Steps to install app:
- Launch the store you have in your smartphone.
- Search “Glinet” by mentioning in the search bar.
- Install by choosing the “install” option.
Connect To Opal’s Network
Connection between smartphone and opal network is mandatory to perform GL SFT1200 Setup. For connection:
- Access wifi settings of your smartphone firstly.
- Run a scan for available networks.
- Afterwards, select the SSID of the opal device.
- Then mention the “Goodlife” in the password field.
- Hit on connect option to establish connection.
Access The App
Launch the app now to initiate the opal configuration. To access the admin accoun:
- First of all choose the language in which you desire to move ahead.
- Then you have to secure your device’s admin panel by creating a strong password.
- Password creation is important to keep the device access & network secure.
Connect Opal To Internet
To connect opal with internet and moving ahead in GL SFT1200 Setup process you need to follow the below specified steps:
- From the homepage of the glinet app, you have to look for settings.
- Thereafter, hit on the internet option displaying under settings.
- This will display four alternates to connect opal with the internet.
- Choose the option as per your requirement and then follow the screen.
Secure Your Network
After connecting opal with internet it is very important to secure your network so,
- Create a separate SSID for your opal’s network.
- You can opt for a similar SSID for both frequencies or choose a different one.
- Also create a strong password for the network, so no one can operate it.
- Save the changes by clicking on save option and move ahead.
Update Firmware
Now you have to update the firmware of your opal device before finishing the GL SFT1200 Setup.
- Check for firmware update option under settings.
- Run a scan and verify your device is using the latest version or an outdated one.
- Thereafter do the update by following the screen prompts if necessary.
Finish Setup
Lastly, when all the changes in the settings made by you are complete then end the process by clicking on apply option.
Test Opal’s Network
Don’t forget to test the newly created network. For the test of GL SFT1200 Setup:
- Use a wifi enabled smartphone and connect it with the opal’s network.
- Then use the internet by browsing websites, watching HD videos or playing online games.
- Also move around your space to check the signal strength.
Connect Us
Hope the GL SFT1200 Setup process specified above is easy to understand for you. Follow the steps to configure your opal device. Connect us if you face any difficulty while setting up the device. Also you can connect if facing any trouble with the opal’s network.
