How To Setup Slate Plus (GL A1300) Using Without App?
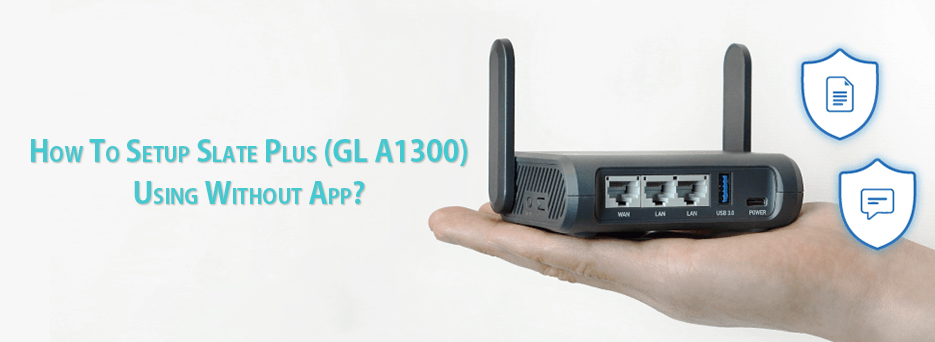
Slate plus (GL A1300) is a dual band wifi 5 travel router device. The device comes with advanced security features and powerful CPU. Users can connect multiple devices with the network without a diminished network speed even during travel. Device has the capability to provide a max speed up to 400 mbps via 2.4GHz frequency and 867 mbps via 5GHz frequency. To broadcast signals, the device has two external detachable antennas. User-friendly access to the web interface allows to configure the device very easily. GL A1300 Setup process is divided into easy to follow steps by us. So, gather the details on the setup process and configure slate plus device.
Boot Up Slate Plus
Firstly, usher in the GL A1300 setup with boot up of the device. For booting the device:
- Use the c type power cable you get with slate plus device.
- Insert the cable into the c type power port on the device back.
- Then connect it with an electric socket and turn on the electricity.
Connect To
Secondly, you should connect the device in which you are about to access the web interface to the slate plus’s network. Connect using:
- Wire: Ethernet cable of slate plus with computer/ laptop.
- Wireless: Rush to settings of the device and then to Wifi. Look for GL-A1300-XXX or GL-A1300-XXX-5G network. Establish a connection by using the “goodlife” password.
Launch Web Browser
Promoting to the next step of GL A1300 setup which is launching a web browser. You can go with any of the browsers that are installed in your laptop/ computer. Mind that the browser you are using is the latest one and don’t have any cache or cookies.
Access Web Interface
Next you have to access the web interface of the slate plus device. To get the access you have to move further with below specified steps:
- Firstly rush to the URL bar.
- Thereafter type default IP in it “http://192.168.8.1”
- Then click on the enter button.
- Now you’ll get the access.
Initiate GL A1300 Setup
Initiate the slate plus setup by choosing the language and then follow the specified steps:
- Firstly secure your admin account.
- Create admin name and password.
- Save the changes and then continue to the next steps.
Connect Slate Plus To Internet
Next step of the process is connecting your slate plus with the internet. For this step you need to:
- Access the settings of the admin account.
- Thereafter, choose the internet option.
- A new screen will display, choose the mode.
- Afterwards follow the steps as screen prompting.
Create SSID & Password For Slate Plus
Secure your GL A1300 Setup network by creating the new SSID & password for both the frequencies. This step is very essential for the security of the network. Be sure to create a different combination that is not easily crackable but yet memorable for you.
Finish Setup
Now you need to end the process of GL A1300 Setup by opting for the “Apply” option. Also be sure before ending the process that your device firmware is the latest one. In case the firmware is outdated then do the needful to install the latest one. An outdated firmware can create hurdles in the working of the slate plus device.
Wrapping Words
GL A1300 Setup is simple and straightforward even without using glinet app. Users can easily configure it without technical knowledge. Yet if required you can connect our technical team, they will help you out. You can reach us via call or by dropping a message in the live chat section.